The web is hard. Let’s make it easier.
(This post is in the works; it’s security by obscurity, so shhh, don’t tell!)
When providing a web service with lots of features, it is often the case that you want to deliver a lot of power to your user without a lot of unnecessary clicking. This sometimes leads to very dense configuration pages. The user, when first confronted with so many options, will surely be overwhealmed. She may be able to find just the right nobs and frobs that she needs for some particular task, but will surely have a hard time comprehending everything that the page allows her to control. Features may be staring her in the face, but such dense and confusing pages may cause her to miss that which is right in front of her.
There are a few solutions to this problem. We can simplify her experience by limiting her options. Sometimes less is more. But sometimes not. Another solution is to train her in person. You can point at the screen and say, “you can use this option to do this,” and “when you want to do that, go here, and then click that.” For various reasons, this isn’t always possible. It certainly becomes a huge bottleneck when you want many people to spontaneously try out your awesome web service.
Our goal today is to simulate the “personal tour” eperience mechanically. We do this by:
- Darkening and disabling the page
- Highlighting features on the screen, one at a time
- Explaining how to use that feature
- Lightening and re-enabling the page
I’m going to step you through the changes to a rails project, using haml, sass, and coffeescript. However, note that the heart of this tutorial really has nothing to do with those technologies, and you can do everything I show here with a trivial translation to plain old html, css, javascript, and your web server of choice.
Although this post isn’t about rails, I do cover, in detail, all of the little steps necessary to get things done, which I hope can incidentally also serve as a nice little rails primer for those who are interested.
Initial setup
Let’s whip up a new rails project that uses haml.
1
| |
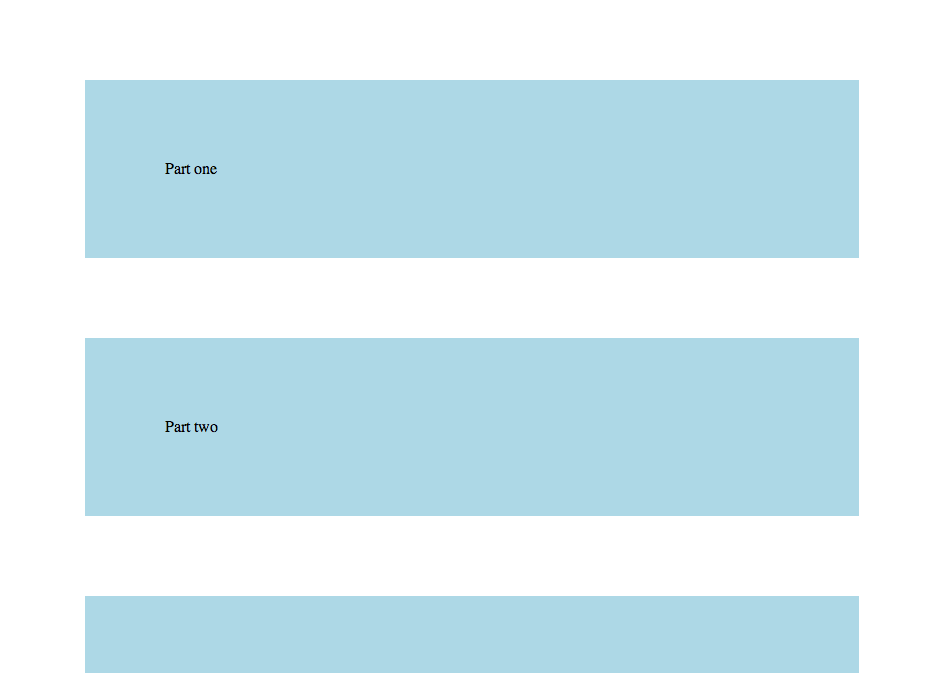
We’ll start off with a simple page.
1 2 3 4 5 6 7 8 9 | |
With some style.
1 2 3 4 5 6 | |
And we’ll configure our application to serve this page at the root.
1 2 3 4 5 6 7 8 9 10 11 12 13 14 15 16 17 18 19 20 21 22 23 24 25 | |
If you’re following along, go ahead and make sure everything is working so far.
1
| |
Visit http://localhost:3000 and you should see that page we just added, appropriately styled.
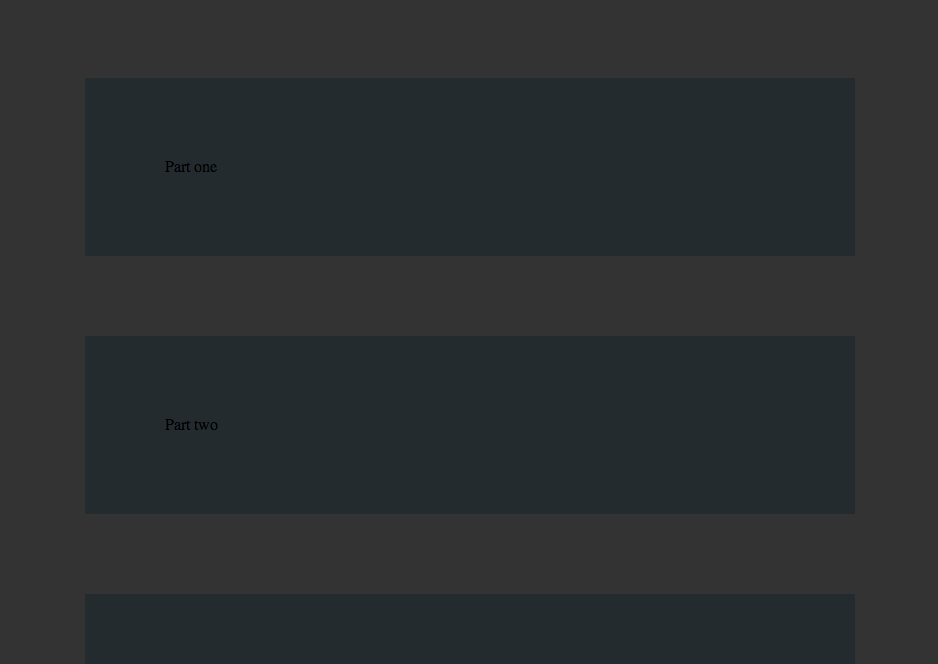
Darken the screen
During the tour, we want everything to be darkened, so that the user’s focus will be on the features being showcased during the tour. Let’s start there. All that we need to accomplish this is a fixed element that covers the page, and has a black background and high (but not total) opacity.
1 2 3 4 5 6 7 8 9 10 11 12 | |
1 2 3 4 5 6 7 8 9 10 11 12 | |
Check http://localhost:3000 and see how that looks now. The whole page should remain dark, even when you scroll up and down.
Annotating the page with tour information
Then we add legs of the tour by wrapping them
up with some additional tagging information.
In this example, I’ve annotated “part one” and
“part three” with tour information.
The whole thing gets wrapped in a .tour div,
the additional tour text is written in the .callout div,
and finally, the the highlighted feature is simply
nested inside the .feature div.
1 2 3 4 5 6 7 8 9 10 11 12 13 14 15 16 17 18 19 | |
And we’ll give it some style.
1 2 3 4 5 6 7 8 9 10 11 12 13 14 15 16 17 18 19 20 21 22 23 | |
Notice how we’ve cleverly
positioned the .callout absolutely in reference to the .tour.
This means that the .feature div will be rendered exactly
in the same position where it would have been without these
extra elements.
Also note how .tour and .feature inherit the background color
of the parent. This helps them pop out a little better.
Let’s see how that looks so far.
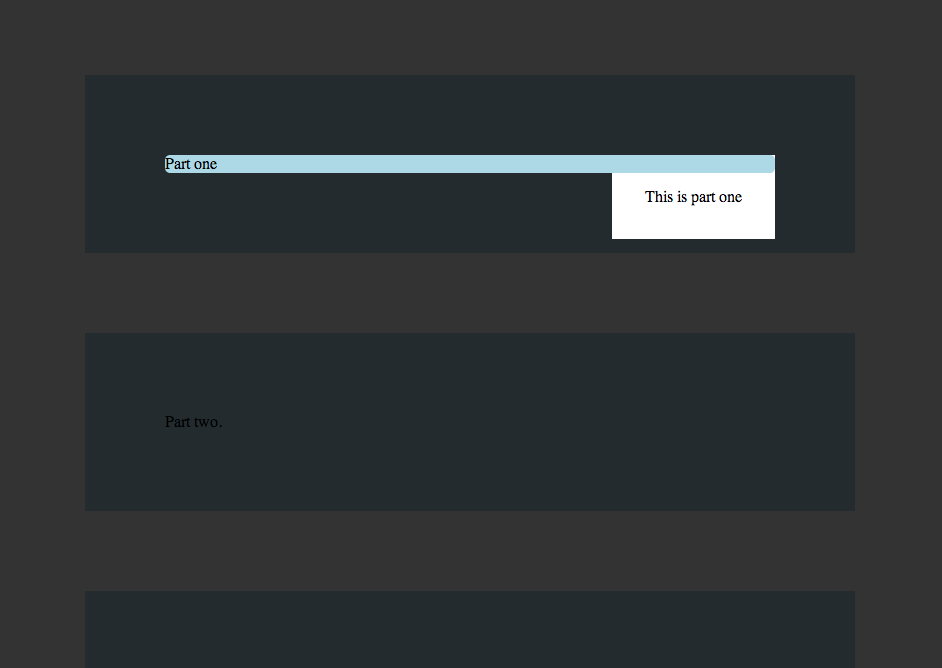
Well, it’s not bad, but not great. Notice how the callout overlaps the feature. We’ll improve the placement of the callout when we get to scripting. In other words, now.
One step at a time
The tour should take our user through features one at a time. Let’s throw in some scripting to get that done.
1 2 3 | |
Using class @Tour is a little bit of sugar
that lets me use new Tour() in the haml file by attaching
the Tour class to the window object.
There are better namespacey ways to do this which are
beyond the scope of this blog post.
I’ve defined a few helpers in this class. First, we want to be able to scroll the user gently to a given element. This is easy with jQuery.
1 2 3 4 5 | |
Next, we need a way to initiate and terminate each portion of the tour.
1 2 3 4 5 6 7 8 9 10 11 12 13 14 15 16 17 18 | |
Pretty straightforward. Now, we just need to give the user a way to actually interact with the tour, and move from one leg to the next. I chose to set this up by appending a link to each callout.
As an additional item of pre-processing, I’ve used javascript to move the callout just below the feature, by calculating that feature’s height, and setting the callout css to be just below.
1 2 3 4 5 6 7 8 9 10 11 12 13 14 15 16 17 18 19 20 21 22 23 24 25 26 27 28 29 30 31 32 33 34 35 36 | |
Now we can invoke this in the haml.
1 2 3 4 | |
And that’s just about it. Let’s tweak the style so that
it leverages the on-tour class, and have the cover and
the callouts be hidden by default.
1 2 3 4 5 6 7 8 9 10 11 12 13 14 15 16 17 18 19 20 21 22 23 24 25 26 27 28 29 30 | |
Nasty bug, easy fix
What happens if you can interact with the features on tour? I’ll tell you what can happen: nasty things. Here’s an example.
1 2 3 4 5 6 7 8 9 10 11 12 13 14 15 16 17 18 19 20 21 22 23 24 | |
Now click the wild link, and try to complete the tour. Whoops, you can’t, because the final leg of the tour was removed from the DOM!
CSS has a really cool and easy solution for this.
1 2 3 4 5 6 7 8 9 10 11 12 13 14 15 | |
Now no pointer events are allowed for a feature on tour, and the continuity of the tour is saved. Neat.
Exercises for the reader
- You may wish to lead the tour in a different order than the default DOM traversal order discovered by jQuery. Change the coffeescript and add metadata to the haml so that the tour order is configurable.
- If you nest one legs of the tour inside of the feature of another leg of the tour, you will probably get weird behavior. Explain why this is, and provide a solution.